I know some of you use Photo Shop, Gimp or even just Paint. I am not lucky enough to own a copy of Photo Shop. Gimp confused the heck out of me and made me want to pull my hair out. And Paint? well lets just say there were tears.
My first Etsy shop photo's were well ugh frightening! I just could not seem to get the swing of it. It kept me from posting in my shop for a very long time. I built a light box, I bought special lighting, I scoured the web for answers. Until one fateful day I came across Picnik.
It was the answer to my prayers. It was simple to use. Easy to upload photo's and best of all it was free.
After months of using it for free I did subscribe it's around 20$ for a YEAR!! It opened up some member only features like I can upload 100 photos to edit at once and they have this handy clone feature that allows me to white out my background on especially difficult to edit pics!
This is my easy peasy picture routine. I do my picture taking in the morning or on cloudy days.
I get my tiny flexible tripod ( beetlejuice I like to call it) that I bought at Bestbuy for like 15 dollars.
I get my Cannon Powershot.
I get my beads.
I get several sheets of white printer paper. ( yep white printer paper)
I go in my front yard where there is no shadows or direct sun. I place my paper down and arrange my beads in a pleasing way.
I set my camera screwed onto its tripod looking down on the beads and set it to Macro, I set the lighting to +1 and I set the timer to 2 seconds.... and away we go!!! It's picture time!!
Sometimes I need an elevated picture so I bring out a small box. I lay a piece of white paper over it and put up a white background behind it... more printer paper or whatever I have lying around.
Before!


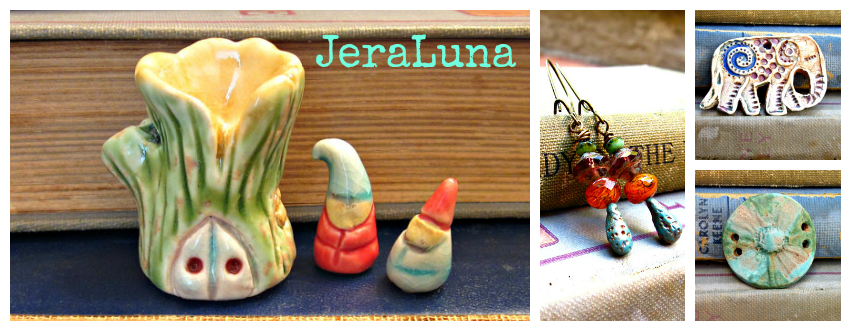
Wow what a difference!!
In PicNik I crop it down..
Then I go to auto exposure where use the Highlights slider until I get the bright white background I love for my shop. They have a shadows slider too.
Now sometimes I can't get my background that bright white without washing out my lovely beads. Never fear Clone is here!!
Now I am pretty sure this is a paid for feature.. It is under the effects tab... then click on Effects and scroll down to clone. It may take a couple of minutes to figure this out but it is well worth it and after a couple of minutes you'll smack your forehead and say "Duh that was easy!"
I re size it to fit how I like it to fit in my shop.
To make things easier I make an "Edited" file so I can quickly find when I need to post in my shop... sometime the saved edited photo's thumbnails don't look edited which can put a hiccup in things if you don't already know about this bug. I put up with it because I love how easy this program is.
Now that is how I edit my pics.. while written out it seems long... in reality it is not it was quick, easy and free! Check it out especially if you are a new Etsian frustrated by the harrows of picture taking!
1 comment:
The results are pretty amazing, I may have to try picnik sometime! I like the use of regular print paper, who would've think that? good job. Thank you for adding mi blog to your list, will do same :)
Post a Comment